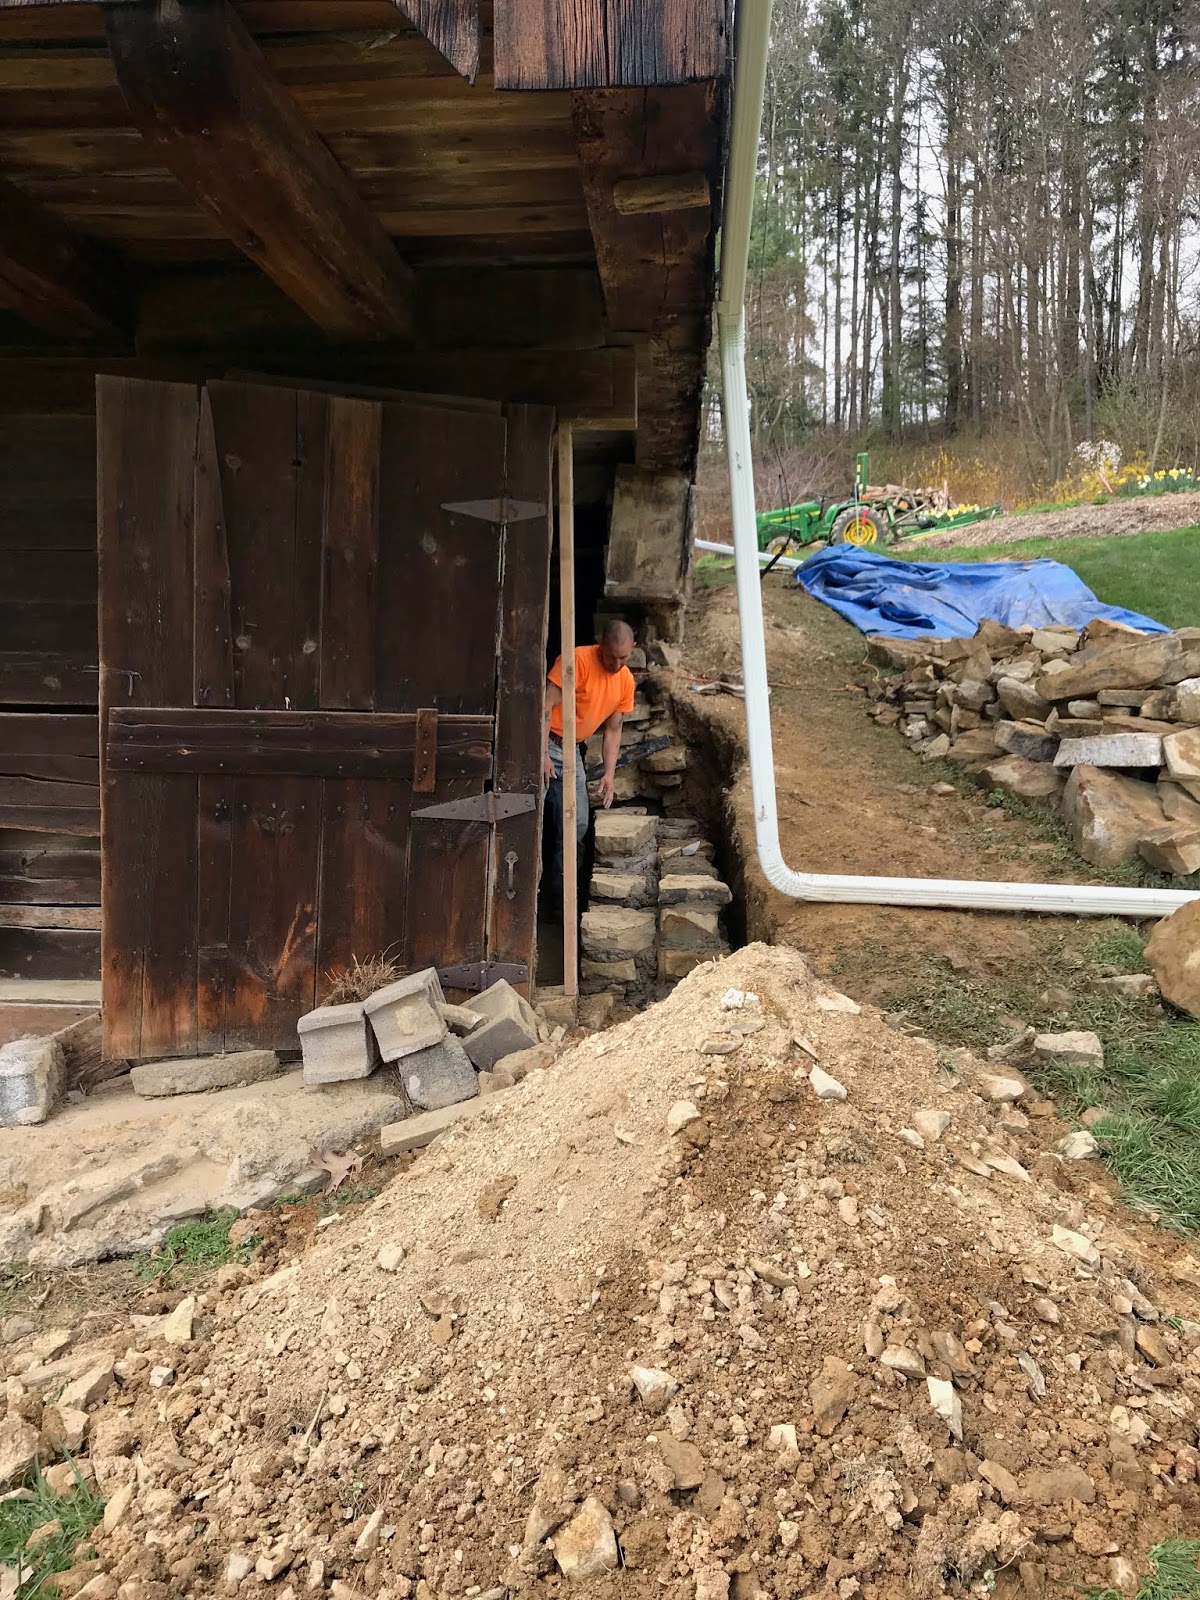
The next phase for getting the barn ready was to repair the back wall. Years of poor drainage and an overgrown patch of blackberries masked the erosion occurring to the stone foundation. Meyers Masonry Restoration did the work. Take a look at the before:
 |
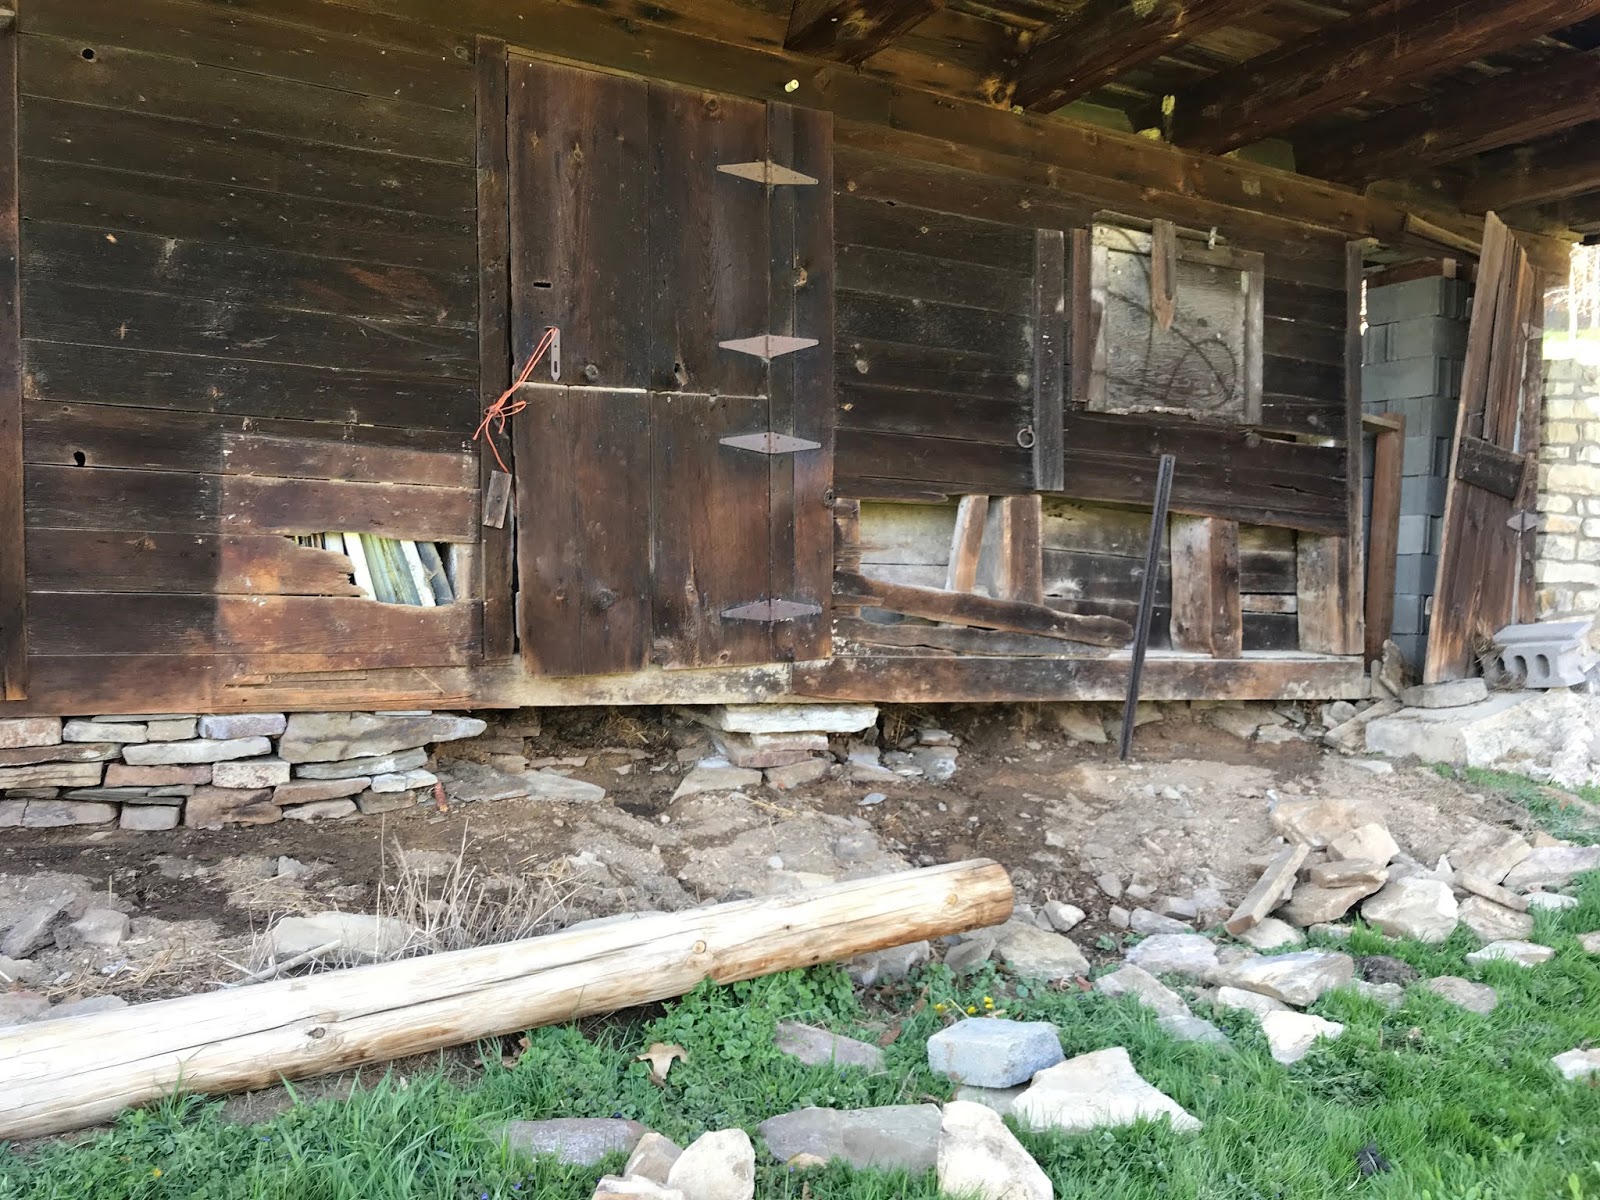
| The stone wall developed a bow after years of poor drainage at the corner of the barn |
 |
| The before before: first we had to clean up the piles of wood and other miscellaneous items to get to the wall. |
 |
| Final stages of clean up: improvising a step stool with barn items |
 |
| The before after: clear space for the masons to work |
 |
| Day 1 Demolition day |
 |
| Day 1 The curve in the stonewall is dramatic |
 |
| Day 1 Demolition view from the back corner |
 |
| Day 2 Repointing begins on the portion of the wall that wasn't taken down |
 |
| Day 2 Detail of the repointing |
 |
| Day 3 Beginning to rebuild the wall |
 |
| Day 3 Cross view of the growing wall |
 |
| Day 3 Repointing the outside of the wall |
 |
| Day 4 Two-thirds of the way built |
 |
| Day 4 Cross view of the progress |
 |
| Day 4 Exterior view |
 |
| Day 4 The short wall under the cantilevered overhang was also repaired, but this was done by dry stacking the stones. |
 |
| Day 5 Dry stacked wall complete |
 |
| Day 5 Back wall complete |
 |
| Day 5 Cross view of the rebuild |
 |
| Day 5 Detail of the newly built wall |
 |
| Day 5 Complete -- the masons used 30 bags of mortar |
 |
| Side by side before and after of exterior dry-stacked wall |
 |
| Side by side before and after of cross view of the rebuild |
 |
| Side by side before and after of the rebuild from the exterior |
Wow. It would have never crossed my mind to do a repair like this. Well done for thinking of all the little (but big) details!
ReplyDelete